How to Use Matplotlib.artist.Artist.get_clip_path() in Python
Matplotlib.artist.Artist.get_clip_path() in Python is an essential method for managing clipping paths in Matplotlib, a powerful data visualization library. This function allows you to retrieve the current clipping path associated with an Artist object. Understanding how to use Matplotlib.artist.Artist.get_clip_path() effectively can greatly enhance your ability to create sophisticated and visually appealing plots. In this comprehensive guide, we’ll explore the various aspects of Matplotlib.artist.Artist.get_clip_path(), its applications, and provide numerous examples to illustrate its usage.
Understanding Matplotlib.artist.Artist.get_clip_path()
Matplotlib.artist.Artist.get_clip_path() is a method that belongs to the Artist class in Matplotlib. It is used to retrieve the current clipping path associated with an Artist object. A clipping path defines a region within which the artist’s content is visible, while anything outside this region is clipped or hidden. This method is particularly useful when you need to inspect or manipulate the clipping path of an existing artist.
Let’s start with a simple example to demonstrate how to use Matplotlib.artist.Artist.get_clip_path():
import matplotlib.pyplot as plt
import numpy as np
from matplotlib.patches import Circle

fig, ax = plt.subplots()
circle = Circle((0.5, 0.5), 0.2, facecolor='blue')
ax.add_patch(circle)

clip_path = circle.get_clip_path()
print(f"Clip path: {clip_path}")

plt.title("Matplotlib.artist.Artist.get_clip_path() Example - how2matplotlib.com")
plt.show()
Output:
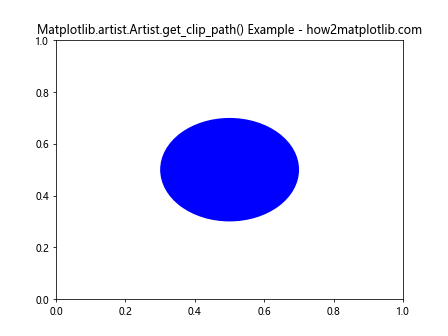
In this example, we create a circular patch and add it to the axes. We then use Matplotlib.artist.Artist.get_clip_path() to retrieve the clipping path of the circle. The result will be printed to the console, showing the current clipping path (which is None by default for a Circle patch).
The Importance of Clipping Paths in Matplotlib
Clipping paths play a crucial role in controlling the visibility of artists in Matplotlib. They allow you to define precise boundaries for your plots, ensuring that certain elements are only visible within specific regions. This can be particularly useful when creating complex visualizations or when you need to overlay multiple plots with different visibility areas.
Here’s an example that demonstrates the importance of clipping paths:
import matplotlib.pyplot as plt
import numpy as np
from matplotlib.patches import Rectangle

fig, ax = plt.subplots()

# Create a rectangle
rect = Rectangle((0.2, 0.2), 0.6, 0.6, facecolor='red')
ax.add_patch(rect)

# Create a clipping path
clip_path = plt.Circle((0.5, 0.5), 0.3, transform=ax.transAxes)
rect.set_clip_path(clip_path)

# Get and print the clipping path
current_clip_path = rect.get_clip_path()
print(f"Current clip path: {current_clip_path}")

plt.title("Clipping Path Example - how2matplotlib.com")
plt.show()
Output:
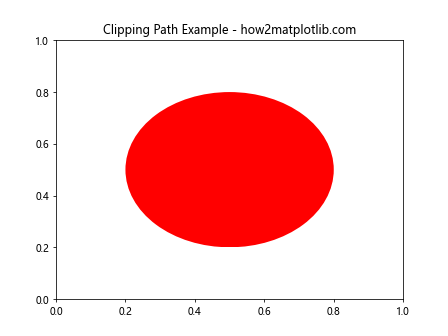
In this example, we create a rectangle and set a circular clipping path for it. We then use Matplotlib.artist.Artist.get_clip_path() to retrieve and print the current clipping path. This demonstrates how clipping paths can be used to control the visibility of artists and how Matplotlib.artist.Artist.get_clip_path() can be used to inspect the current clipping path.
Working with Different Artist Types
Matplotlib.artist.Artist.get_clip_path() can be used with various types of artists in Matplotlib, including patches, lines, and text objects. Let’s explore how to use this method with different artist types:
Patches
Patches are 2D artists used to create shapes like rectangles, circles, and polygons. Here’s an example using Matplotlib.artist.Artist.get_clip_path() with a polygon patch:
import matplotlib.pyplot as plt
import numpy as np
from matplotlib.patches import Polygon

fig, ax = plt.subplots()

# Create a polygon
polygon = Polygon([(0.2, 0.2), (0.8, 0.2), (0.5, 0.8)], facecolor='green')
ax.add_patch(polygon)

# Get and print the clipping path
clip_path = polygon.get_clip_path()
print(f"Polygon clip path: {clip_path}")

plt.title("Matplotlib.artist.Artist.get_clip_path() with Polygon - how2matplotlib.com")
plt.show()
Output:
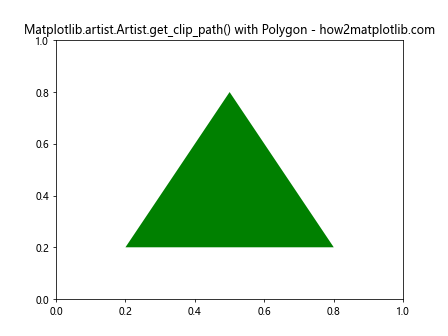
In this example, we create a triangular polygon and use Matplotlib.artist.Artist.get_clip_path() to retrieve its clipping path. By default, the clipping path for a polygon is None.
Lines
Lines are another common type of artist in Matplotlib. Let’s see how to use Matplotlib.artist.Artist.get_clip_path() with a line artist:
import matplotlib.pyplot as plt
import numpy as np

fig, ax = plt.subplots()

# Create a line
x = np.linspace(0, 10, 100)
y = np.sin(x)
line, = ax.plot(x, y, color='blue')

# Get and print the clipping path
clip_path = line.get_clip_path()
print(f"Line clip path: {clip_path}")

plt.title("Matplotlib.artist.Artist.get_clip_path() with Line - how2matplotlib.com")
plt.show()
Output:
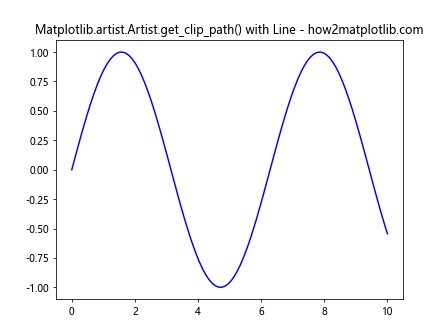
In this example, we create a sine wave using a line artist and then use Matplotlib.artist.Artist.get_clip_path() to retrieve its clipping path. By default, the clipping path for a line is also None.
Text
Text objects in Matplotlib are also artists, and you can use Matplotlib.artist.Artist.get_clip_path() with them as well. Here’s an example:
import matplotlib.pyplot as plt
import numpy as np

fig, ax = plt.subplots()

# Create a text object
text = ax.text(0.5, 0.5, "Hello, how2matplotlib.com!", ha='center', va='center')

# Get and print the clipping path
clip_path = text.get_clip_path()
print(f"Text clip path: {clip_path}")

plt.title("Matplotlib.artist.Artist.get_clip_path() with Text - how2matplotlib.com")
plt.show()
Output:
In this example, we create a text object and use Matplotlib.artist.Artist.get_clip_path() to retrieve its clipping path. Like other artists, the default clipping path for text is None.
Setting and Getting Clipping Paths
While Matplotlib.artist.Artist.get_clip_path() is used to retrieve the current clipping path, it’s often used in conjunction with setting clipping paths. Let’s explore how to set and get clipping paths for different scenarios:
Rectangular Clipping Path
Here’s an example of setting a rectangular clipping path and then retrieving it using Matplotlib.artist.Artist.get_clip_path():
import matplotlib.pyplot as plt
import numpy as np
from matplotlib.patches import Rectangle

fig, ax = plt.subplots()

# Create a scatter plot
x = np.random.rand(100)
y = np.random.rand(100)
scatter = ax.scatter(x, y, c='red')

# Create a rectangular clipping path
clip_rect = Rectangle((0.2, 0.2), 0.6, 0.6, transform=ax.transAxes, fill=False)
ax.add_patch(clip_rect)
scatter.set_clip_path(clip_rect)

# Get and print the clipping path
current_clip_path = scatter.get_clip_path()
print(f"Current clip path: {current_clip_path}")

plt.title("Rectangular Clipping Path - how2matplotlib.com")
plt.show()
Output:
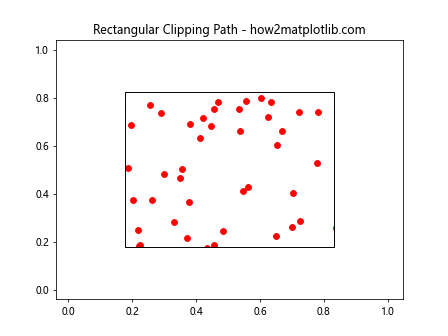
In this example, we create a scatter plot and set a rectangular clipping path for it. We then use Matplotlib.artist.Artist.get_clip_path() to retrieve and print the current clipping path.
Circular Clipping Path
Now let’s try setting a circular clipping path and retrieving it:
import matplotlib.pyplot as plt
import numpy as np
from matplotlib.patches import Circle

fig, ax = plt.subplots()

# Create a heatmap
data = np.random.rand(20, 20)
heatmap = ax.imshow(data, cmap='viridis')

# Create a circular clipping path
clip_circle = Circle((0.5, 0.5), 0.4, transform=ax.transAxes, fill=False)
ax.add_patch(clip_circle)
heatmap.set_clip_path(clip_circle)

# Get and print the clipping path
current_clip_path = heatmap.get_clip_path()
print(f"Current clip path: {current_clip_path}")

plt.title("Circular Clipping Path - how2matplotlib.com")
plt.show()
Output:
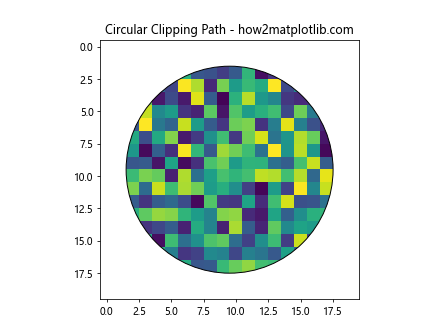
In this example, we create a heatmap and set a circular clipping path for it. We then use Matplotlib.artist.Artist.get_clip_path() to retrieve and print the current clipping path.
Advanced Usage of Matplotlib.artist.Artist.get_clip_path()
Matplotlib.artist.Artist.get_clip_path() can be particularly useful in more advanced scenarios, such as when working with complex visualizations or when you need to manipulate clipping paths programmatically. Let’s explore some advanced use cases:
Combining Multiple Clipping Paths
You can create complex clipping paths by combining multiple shapes. Here’s an example that demonstrates how to create a clipping path from the intersection of two circles:
import matplotlib.pyplot as plt
import numpy as np
from matplotlib.patches import Circle
from matplotlib.path import Path

fig, ax = plt.subplots()

# Create two overlapping circles
circle1 = Circle((0.3, 0.5), 0.3, transform=ax.transAxes)
circle2 = Circle((0.7, 0.5), 0.3, transform=ax.transAxes)

# Create a complex clipping path from the intersection of the circles
clip_path = Path.make_compound_path(circle1.get_path(), circle2.get_path())

# Create a scatter plot
x = np.random.rand(1000)
y = np.random.rand(1000)
scatter = ax.scatter(x, y, c='purple')

# Set the complex clipping path
scatter.set_clip_path(clip_path, transform=ax.transAxes)

# Get and print the clipping path
current_clip_path = scatter.get_clip_path()
print(f"Current clip path: {current_clip_path}")

plt.title("Combined Clipping Paths - how2matplotlib.com")
plt.show()
Output:
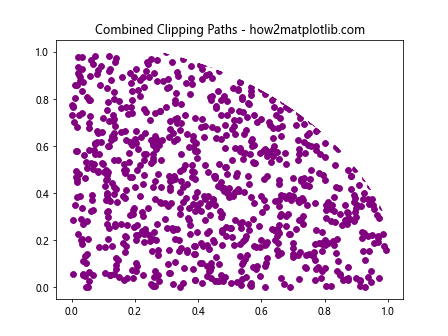
In this example, we create a complex clipping path by combining two circles. We then apply this clipping path to a scatter plot and use Matplotlib.artist.Artist.get_clip_path() to retrieve and print the current clipping path.
Animating Clipping Paths
Matplotlib.artist.Artist.get_clip_path() can be useful when creating animations with changing clipping paths. Here’s an example that demonstrates how to animate a moving clipping path:
import matplotlib.pyplot as plt
import numpy as np
from matplotlib.patches import Circle
from matplotlib.animation import FuncAnimation

fig, ax = plt.subplots()

# Create a scatter plot
x = np.random.rand(1000)
y = np.random.rand(1000)
scatter = ax.scatter(x, y, c='orange')

# Create a circular clipping path
clip_circle = Circle((0, 0), 0.2, transform=ax.transAxes)
scatter.set_clip_path(clip_circle)

def update(frame):
    # Update the position of the clipping path
    clip_circle.center = (frame / 100, 0.5)
    scatter.set_clip_path(clip_circle)

    # Get and print the current clipping path
    current_clip_path = scatter.get_clip_path()
    print(f"Frame {frame}: Current clip path: {current_clip_path}")

    return scatter,

ani = FuncAnimation(fig, update, frames=100, interval=50, blit=True)

plt.title("Animated Clipping Path - how2matplotlib.com")
plt.show()
Output:
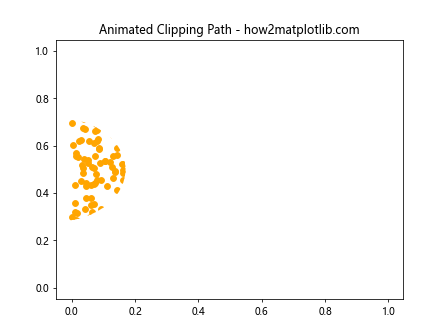
In this example, we create an animation where a circular clipping path moves across the scatter plot. We use Matplotlib.artist.Artist.get_clip_path() in each frame to retrieve and print the current clipping path.
Handling None Values
It’s important to note that Matplotlib.artist.Artist.get_clip_path() may return None if no clipping path is set. Here’s an example that demonstrates how to handle this case:
import matplotlib.pyplot as plt
import numpy as np

fig, ax = plt.subplots()

# Create a line plot
x = np.linspace(0, 10, 100)
y = np.sin(x)
line, = ax.plot(x, y, color='green')

# Get and check the clipping path
clip_path = line.get_clip_path()
if clip_path is None:
    print("No clipping path is set for the line.")
else:
    print(f"Current clip path: {clip_path}")

plt.title("Handling None Clip Paths - how2matplotlib.com")
plt.show()
Output:
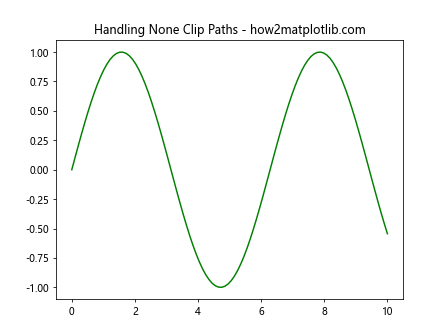
In this example, we create a line plot and use Matplotlib.artist.Artist.get_clip_path() to retrieve its clipping path. We then check if the returned value is None and handle it accordingly.
Using Matplotlib.artist.Artist.get_clip_path() with Subplots
When working with multiple subplots, you can use Matplotlib.artist.Artist.get_clip_path() for each individual artist in each subplot. Here’s an example:
import matplotlib.pyplot as plt
import numpy as np
from matplotlib.patches import Rectangle

fig, (ax1, ax2) = plt.subplots(1, 2, figsize=(10, 5))

# Subplot 1: Scatter plot with rectangular clipping path
x1 = np.random.rand(100)
y1 = np.random.rand(100)
scatter = ax1.scatter(x1, y1, c='red')
clip_rect = Rectangle((0.2, 0.2), 0.6, 0.6, transform=ax1.transAxes, fill=False)
ax1.add_patch(clip_rect)
scatter.set_clip_path(clip_rect)

# Subplot 2: Line plot with circular clipping path
x2 = np.linspace(0, 10, 100)
y2 = np.sin(x2)
line, = ax2.plot(x2, y2, color='blue')
clip_circle = plt.Circle((0.5, 0.5), 0.4, transform=ax2.transAxes, fill=False)
ax2.add_patch(clip_circle)
line.set_clip_path(clip_circle)

# Get and print clipping paths for both subplots
clip_path1 = scatter.get_clip_path()
clip_path2 = line.get_clip_path()
print(f"Subplot 1 clip path: {clip_path1}")
print(f"Subplot 2 clip path: {clip_path2}")

plt.suptitle("Matplotlib.artist.Artist.get_clip_path() with Subplots - how2matplotlib.com")
plt.show()
Output:
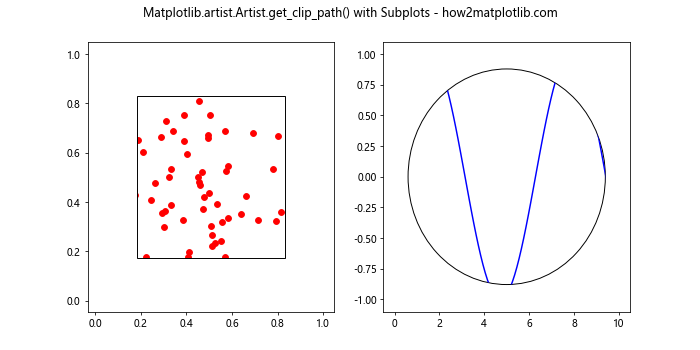
In this example, we create two subplots with different artists and clipping paths. We then use Matplotlib.artist.Artist.get_clip_path() to retrieve and print the clipping paths for both subplots.
Comparing Clipping Paths
Matplotlib.artist.Artist.get_clip_path() can be useful when you need to compare clipping paths between different artists. Here’s an example that demonstrates this:
import matplotlib.pyplot as plt
import numpy as np
from matplotlib.patches import Rectangle, Circle

fig, ax = plt.subplots()

# Create two artists with different clipping paths
rect = Rectangle((0.2, 0.2), 0.6, 0.6, facecolor='red')
circle = Circle((0.5, 0.5), 0.3, facecolor='blue')
ax.add_patch(rect)
ax.add_patch(circle)

# Set clipping paths
rect_clip = Rectangle((0.1, 0.1), 0.8, 0.8, transform=ax.transAxes, fill=False)
circle_clip = Circle((0.5, 0.5), 0.4, transform=ax.transAxes, fill=False)
rect.set_clip_path(rect_clip)
circle.set_clip_path(circle_clip)

# Get and compare clipping paths
rect_clip_path = rect.get_clip_path()
circle_clip_path = circle.get_clip_path()

print(f"Rectangle clip path: {rect_clip_path}")
print(f"Circle clip path: {circle_clip_path}")
print(f"Are the clip paths the same? {rect_clip_path == circle_clip_path}")

plt.title("Comparing Clipping Paths - how2matplotlib.com")
plt.show()
Output:
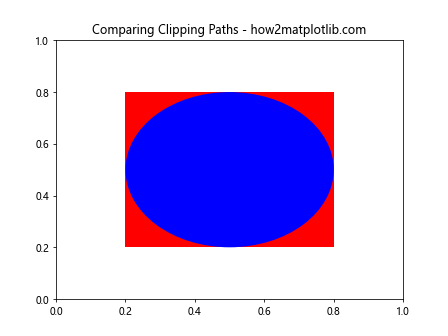
In this example, we create two artists (a rectangle and a circle) with different clipping paths. We then use Matplotlib.artist.Artist.get_clip_path() to retrieve and compare their clipping paths.
Troubleshooting Matplotlib.artist.Artist.get_clip_path()
When working with Matplotlib.artist.Artist.get_clip_path(), you might encounter some issues. Here are some common problems and their solutions:
- Clipping path is None when you expect it to be set:
- Make sure you’ve actually set a clipping path using set_clip_path().
- Check if the artist is properly added to the axes.
- Clipping path doesn’t seem to affect the artist:
- Ensure that the clipping path’s transform matches the artist’s transform.
- Verify that the clipping path is within the visible area of the plot.
- Unexpected clipping behavior:
- Check if there are multiple clipping paths applied (e.g., at the axes level).
- Inspect the clipping path’s coordinates and transform.
Here’s an example that demonstrates how to troubleshoot these issues:
import matplotlib.pyplot as plt
import numpy as np
from matplotlib.patches import Rectangle

fig, ax = plt.subplots()

# Create a scatter plot
x = np.random.rand(100)
y = np.random.rand(100)
scatter = ax.scatter(x, y, c='green')

# Attempt to get the clipping path before setting it
clip_path_before = scatter.get_clip_path()
print(f"Clip path before setting: {clip_path_before}")

# Set a clipping path
clip_rect = Rectangle((0.2, 0.2), 0.6, 0.6, transform=ax.transAxes, fill=False)
ax.add_patch(clip_rect)
scatter.set_clip_path(clip_rect)

# Get the clipping path after setting it
clip_path_after = scatter.get_clip_path()
print(f"Clip path after setting: {clip_path_after}")

# Check if the clipping path is affecting the artist
if clip_path_after is not None:
    print("Clipping path is set correctly.")
else:
    print("Clipping path is not set or not affecting the artist.")

# Inspect the clipping path's properties
if clip_path_after is not None:
    print(f"Clipping path bounds: {clip_path_after.get_extents()}")
    print(f"Clipping path transform: {clip_path_after.get_transform()}")

plt.title("Troubleshooting get_clip_path() - how2matplotlib.com")
plt.show()
Output:
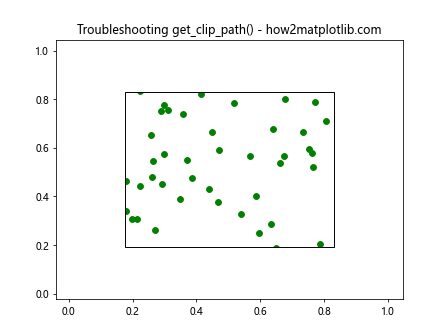
This example demonstrates how to check for common issues when using Matplotlib.artist.Artist.get_clip_path() and provides some debugging information.
Best Practices for Using Matplotlib.artist.Artist.get_clip_path()
When working with Matplotlib.artist.Artist.get_clip_path(), consider the following best practices:
- Always check if the returned clipping path is None before using it.
- Use get_clip_path() in conjunction with set_clip_path() for consistency.
- Be aware of the transform associated with the clipping path.
- Use get_clip_path() for debugging and inspecting your plots.
- Remember that not all artists support clipping paths.
Here’s an example that demonstrates these best practices:
import matplotlib.pyplot as plt
import numpy as np
from matplotlib.patches import Rectangle

def create_clipped_artist(ax, artist, clip_shape):
    # Add the artist to the axes
    ax.add_artist(artist)

    # Set the clipping path
    artist.set_clip_path(clip_shape)

    # Get and check the clipping path
    clip_path = artist.get_clip_path()
    if clip_path is None:
        print("Warning: Clipping path is not set or not supported for this artist.")
    else:
        print(f"Clipping path successfully set: {clip_path}")

    # Inspect the clipping path properties
    if clip_path is not None:
        print(f"Clipping path bounds: {clip_path.get_extents()}")
        print(f"Clipping path transform: {clip_path.get_transform()}")

fig, ax = plt.subplots()

# Create a scatter plot
x = np.random.rand(100)
y = np.random.rand(100)
scatter = ax.scatter(x, y, c='red')

# Create a clipping rectangle
clip_rect = Rectangle((0.2, 0.2), 0.6, 0.6, transform=ax.transAxes, fill=False)
ax.add_patch(clip_rect)

# Apply best practices
create_clipped_artist(ax, scatter, clip_rect)

plt.title("Best Practices for get_clip_path() - how2matplotlib.com")
plt.show()
Output:
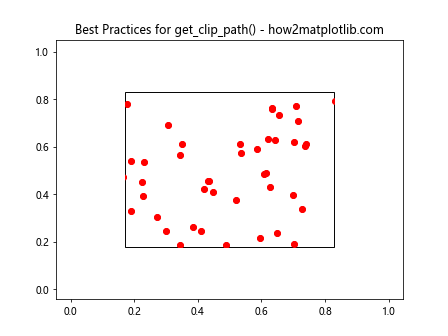
This example demonstrates how to apply best practices when using Matplotlib.artist.Artist.get_clip_path(), including checking for None values, inspecting clipping path properties, and using it in conjunction with set_clip_path().
Conclusion
Matplotlib.artist.Artist.get_clip_path() is a powerful method that allows you to retrieve and inspect the clipping paths of artists in Matplotlib. Throughout this comprehensive guide, we’ve explored various aspects of using this method, including:
- Understanding the basics of Matplotlib.artist.Artist.get_clip_path()
- Working with different types of artists and clipping paths
- Advanced usage scenarios, such as combining and animating clipping paths
- Troubleshooting common issues
- Best practices for using Matplotlib.artist.Artist.get_clip_path()